Before the final inspection, every small detail starts to speak for the space, from dust on ledges to smudges on glass, and that final round of cleaning can decide whether the handover feels smooth or stressful.
Cleaning before final inspection matters because those small details can shape how the whole space is judged, especially when marks, odours, debris, or residue make finished work feel unfinished and lead to awkward touch-ups.
In this article, we’ll walk you through why cleaning before final inspection matters, what inspectors usually check, which areas need closer attention, and when getting professional help may reduce missed areas before handover.
Let’s clear the final layer before approval, keys, and a proper handover.
Why Cleaning Before Final Inspection Matters
Cleaning before final inspection matters because this is when the property stops being judged as lived-in. It starts being checked as a space that should be ready for the next person.
This stage can show whether the space has been properly cared for before the key handover. It also helps you notice small issues early, such as a stale smell, a greasy patch, a dusty edge, or a stain around a fitting.
It prevents that awkward moment where you are still wiping surfaces while someone is already checking the unit. It also makes extra cleaning requests, rushed touch-ups, and avoidable handover complaints less likely during the inspection.
A clean, aired-out space makes the handover feel easier. It sets a better tone the moment someone walks in.
What Inspectors Look For During Final Inspection
During a final walkthrough, the inspector is not only checking whether the property looks presentable. The property agent also checks whether the space is clean, properly maintained, and free from obvious issues tenants may record during move-in.
This is also reflected in the Singapore tenancy guidance, where end-of-tenancy checklists commonly expect the premises to be thoroughly cleaned before possession is returned, including cabinets, wardrobes, appliances, windows, lighting, furniture, and fixtures.
During a final walkthrough, inspectors commonly check:
- Kitchen grease and residue. Grease around the cooker hood, hob, splashback, sink, cabinet handles, and appliance fronts is hard to hide. Sticky marks or small food bits can make the whole kitchen feel like it was cleaned in a rush.
- Bathroom glass, grout, and drains. Shower glass, mirrors, taps, grout lines, floor corners, and drains tend to get noticed during a handover review. A cloudy screen, marked tap, or hair near the drain can make the bathroom look barely cleaned.
- Windows, mirrors, and glass panels. Streaks, fingerprints, dusty window tracks, and marks along glass edges often show up once light hits the room. These small details can make the room feel as though cleaning stopped too soon.
- Skirting boards, corners, and floor edges. Dust often sits along skirting boards, corners, door frames, and furniture edges. These low, easy-to-miss areas can quickly show whether the cleaning only covered the obvious surfaces.
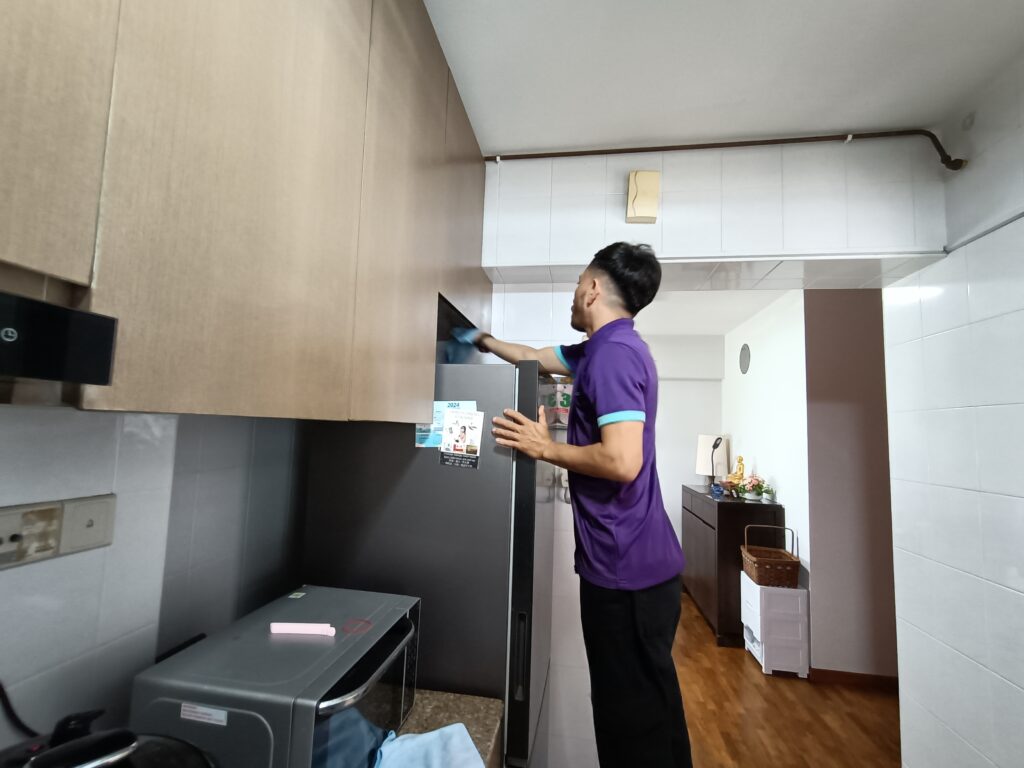
- High-touch points. Switches, handles, wardrobe doors, cabinet pulls, taps, and railings pick up fingerprints and grime quickly. During a final walkthrough, these spots can stand out because people touch them often and forget to clean them properly.
- Storage areas and enclosed spaces. During inspection, they may pull open wardrobes, drawers, cabinets, utility rooms, and built-in storage. Dust, trapped odours, or small debris left inside can create a bad handover impression.
- Odour sources. Bad smells are hard to ignore during an inspection. They often come from bins, drains, fridges, damp carpets, bathrooms, or rooms that stayed closed for too long. A place can look wiped down, but a musty smell can still make it feel uncared for.
- Signs of rushed cleaning. You can usually tell when cleaning has been rushed. Dust sits in the corners, glass still has streaks, and some surfaces look wiped in a hurry. Items may be put back while dust remains underneath, making the whole clean feel rushed.
When You Can Handle Cleaning Yourself
You can probably handle the cleaning yourself if the unit is already in decent shape, has not been heavily used, and still gives you enough time to check the spots people usually notice during final inspection.
A simple way to decide is to walk through the unit as if you were the inspector. Open cabinets, check corners, look at glass, smell enclosed rooms, and touch handles or switches. If most areas only need light cleaning, doing it yourself may be realistic.
This is easier to manage when the unit is small or mostly empty, and the work is limited to wiping, mopping, dusting, vacuuming, and a quick bathroom clean. It also works better when you do not need to rush packing, moving, and cleaning on the same day.
You can also manage it yourself if the kitchen has no thick grease, sticky handles, old food smell, or residue around the cooker hood and appliances. If several of these problems are present, a managed clean may reduce the chance of missed areas or last-minute rework.
Cleaning Before Final Inspection: Step-By-Step Checklist
Getting a property ready for a final walkthrough takes more than a quick wipe, because small things like dusty corners, greasy edges, and smudged glass often stand out once someone else checks the space.
Follow this simple order so you can spot the details before the walkthrough begins:
Step 1: Declutter And Prepare The Space
Move your things off floors, countertops, and shelves so you can see and clean each surface properly. Bag up lingering rubbish, expired pantry items, and empty bathroom bottles before you start.
Pull small furniture pieces away from walls to reach hidden skirting boards and floor corners. Then, open cupboard doors and sliding drawers so they are ready for internal wipe-downs.
Keep your vacuum, microfibre cloths, degreaser, glass cleaner, and other supplies in one spot so you are not searching for them halfway through cleaning. This helps you clean in one steady round instead of going back and forth when time is tight.
Step 2: Clean Kitchens, Appliances, and Grease-Prone Areas
Start at the sink because food bits near the drain, dull taps, and dried water marks can quickly make the kitchen look dirty. Grease often sits near the hood filters, hob, knobs, backsplash, and nearby wall, even when the rest of the counter looks clean.
For grease-prone areas, a suitable degreasing product can make this step more thorough. Our MaxClean Degreaser is designed for rapid grease removal and is useful for kitchens, appliances, and food preparation areas where oily residue builds up. Its biodegradable and non-toxic formulation also makes it a practical option when you need strong cleaning power without using harsh solvent-based cleaners.
Open the drawers and cupboards too, since crumbs, sticky rings, and old stains often hide in back corners. Look inside the oven and fridge for sticky spills, old food smells, greasy spots, and anything still left behind. These enclosed spots are easy to miss, but they are also easy to question during handover.
Step 3: Deep Clean Bathrooms And Wet Areas
Shower heads, taps, and the toilet base can collect water marks fast, especially when they have only had quick wipe-downs. Soap scum on the shower screen and pink mould along grout lines can become surprisingly obvious once the bathroom dries fully.
Toothpaste splashes, fingerprints, and cloudy patches on mirrors and cabinets are small details, but they can make the whole bathroom feel unfinished. Pull trapped hair and grime from the floor waste before any damp smell starts spreading through the room. Bathrooms are small, but they get checked closely, especially when there is a stray hair, a damp smell, or a visible watermark left behind.
Step 4: Clean Living Areas, Bedrooms, and Built-In Storage
Light switches, sockets, handles, shelves, and frame tops are easy to miss but quick to notice. Wipe the hanging rails inside wardrobes and check the sliding tracks because dust and hair often sit there quietly.
Fans and air-conditioning vents can hold visible dust, especially in rooms that have been closed for a while. Checking these areas before the walkthrough helps the space feel cared for, not just quickly tidied.
Step 5: Check Floors, Windows, Doors, Fixtures, and Final Touch-Ups
Clean the panes, then dry the sills and tracks so the window area does not look half-done. Leave the floors for last so you are not dragging dust or footprints back through the rooms after mopping.
Look closely at the door edges and handles because scuff marks and fingerprints are easy to miss until the room is empty. Open the windows for a bit, clear the last rubbish, then walk through the space slowly and check what still catches your eye before you call it done.
This final pass gives you a chance to fix small issues before someone else points them out.
Common Cleaning Mistakes That Can Affect Final Inspection
Most issues during a final inspection come from small things left behind, not from one obviously messy room. This often happens when the cleaning is rushed or only checked from the doorway.
These are the details people usually notice once they start opening, touching, and looking closer:
- Wiping only the obvious surfaces can leave corners, tracks, cabinet interiors, and spaces behind movable items dirty. These spots are easy to miss during cleaning but easy to notice during inspection.
- Grease is easy to miss in the kitchen, especially around the cooker hood, hob, backsplash, cabinet handles, and appliance edges. Once someone touches a sticky handle or sees an oily edge, the kitchen can feel unfinished.
- Bathrooms can look fine at first until someone spots marked grout, hair near the drain, water stains, soap scum, or a damp smell. Small bathroom details often stand out because the room gets checked at close range.
- Skipping switches, handles, taps, railings, remote holders, and wardrobe tracks can also affect the final impression because these areas are often touched.
- Cleaning too early before handover can allow dust to settle again, rooms to smell closed up, or fresh footprints to appear. This can make a clean unit feel less fresh by the time the walkthrough starts.
How Total Cleanz Helps Prepare Your Space For Final Inspection
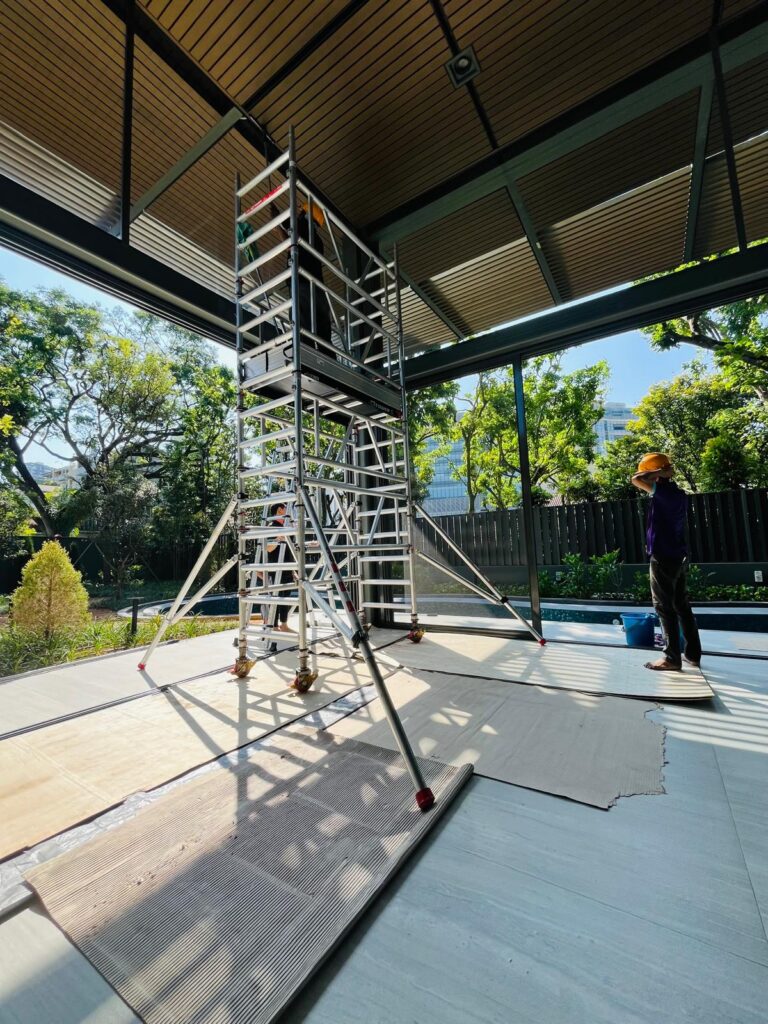
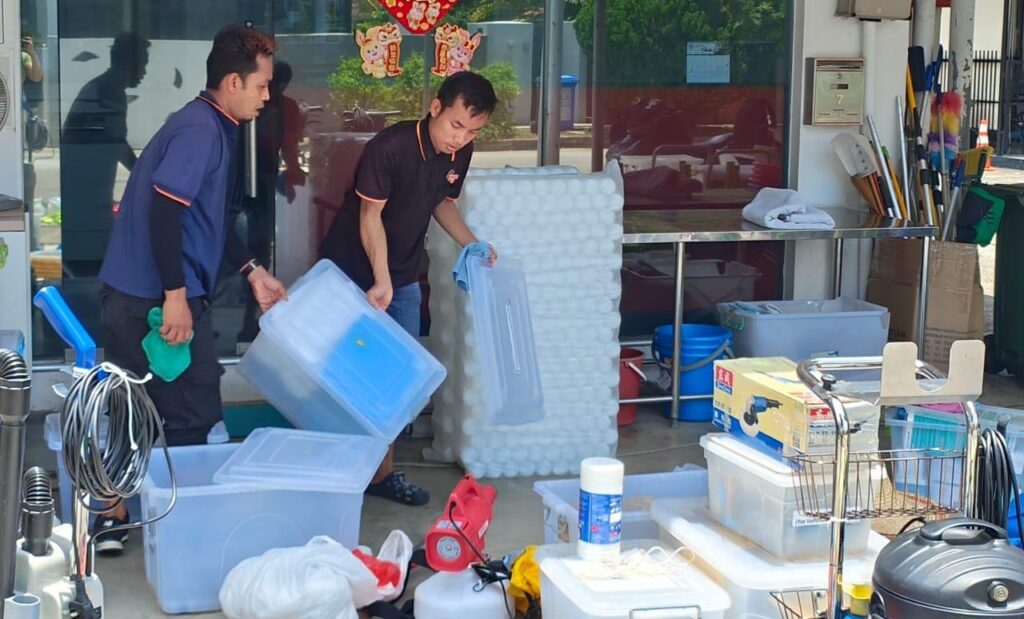
Hiring a professional team can take some of the heavy lifting out of a move, especially when grime, clutter, and missed corners could affect the final walkthrough. Specialised cleaners also bring the right tools to handle areas that often need closer work, such as kitchen grease, bathroom buildup, cabinet interiors, windows, and floor edges. This helps reduce the chance of rework when the unit is already supposed to be ready.
At Total Cleanz, our move out cleaning service starts with a free assessment and checklist planning session. This lets the crew prep for your specific layout, move-out date, and those tricky spots that need extra work before the inspection. The checklist also gives the cleaning a clearer structure, instead of relying on a quick room-by-room wipe.
Our crew also steps in to help you sort through what’s left behind, taking care of the hauling and recycling so you do not have to. We make sure those easily missed spots actually get cleaned, keeping a close eye on the whole process from the moment we arrive until the job is done.
This makes the unit easier to review before final inspection, instead of leaving you to spot issues at the last minute. It also gives you a more managed process when you do not have time to supervise every corner yourself.
Here is how our structured cleaning process helps reduce missed areas before handover:
- Kitchen areas are checked for grease around the cooker hood, hob, backsplash, sink, handles, and appliance fronts.
- Bathrooms get closer attention around taps, shower screens, grout lines, drains, mirrors, and the toilet base.
- Dust is removed from window tracks, cabinet gaps, door-frame tops, skirting boards, and behind appliances.
- Glass, mirrors, switches, handles, and fittings get a final look because streaks, smudges, and fingerprints show up quickly.
- Cleaning can be timed around packing, moving, and key handover, so the unit is not cleaned too early or left too late.
- The final check can focus on the details landlords or agents often notice first, such as odours, storage interiors, bathrooms, kitchen surfaces, and high-touch areas. This helps the space feel more prepared before someone else starts pointing out small misses.
FAQs
Should You Book Cleaning Only After Packing Is Done?
Yes. It’s a lot easier to get a deep clean once your stuff is boxed up or gone, mainly because it opens up all those hidden corners and surfaces that are usually blocked.
Does The Property Need To Be Completely Empty Before Cleaning?
No. We can definitely work around your furniture, though it’s worth noting that empty rooms are usually much faster and easier for the team to scrub top to bottom.
Can Professional Cleaning Remove Every Old Stain?
It depends on the stain, surface, and the cleaner’s methods. Many stains can improve, but serious or old damage may not fully disappear.
Can Missed Areas Still Be Fixed After Inspection?
Yes. If the landlord points out a small spot we missed during the walkthrough, it’s usually pretty quick and easy to touch it up right then and there.
Conclusion
Most final walkthrough problems start with things people barely notice while living there, like greasy handles, dusty tracks, cloudy mirrors, or stale bathroom smells afterwards.
Taking time for cleaning before final inspection gives you a better chance of avoiding awkward touch-ups, re-cleaning requests, and last-minute handover stress once landlords, agents, or buyers begin checking closely inside.
Working through the property slowly, instead of rushing from room to room, usually makes hidden dust, streaks, marks, and forgotten rubbish easier to catch early.
If you need help getting your space ready before handover, Total Cleanz gives you structured, handover-ready support that targets the details inspectors often notice, so your space feels cleaner, fresher, and less likely to need repeat cleaning after the walkthrough.